My Webserver Project

by: burt rosenberg
at: january 2024

Overview

The goals of this project is to exercise the student's skills in cloud computing, and to give an sense of the breath of skills the student will have by the conclusion of this course. See this web page for some help on git installation and ssh.

First activity: create your webserver

  1. Launch an Ubuntu EC2 Instance.
  2. Edit the security group to all add http and https access in inbound rules.
  3. ssh into the instance.
  4. Update the packages index: "sudo apt-get update"
  5. Install build-essential and apache2.
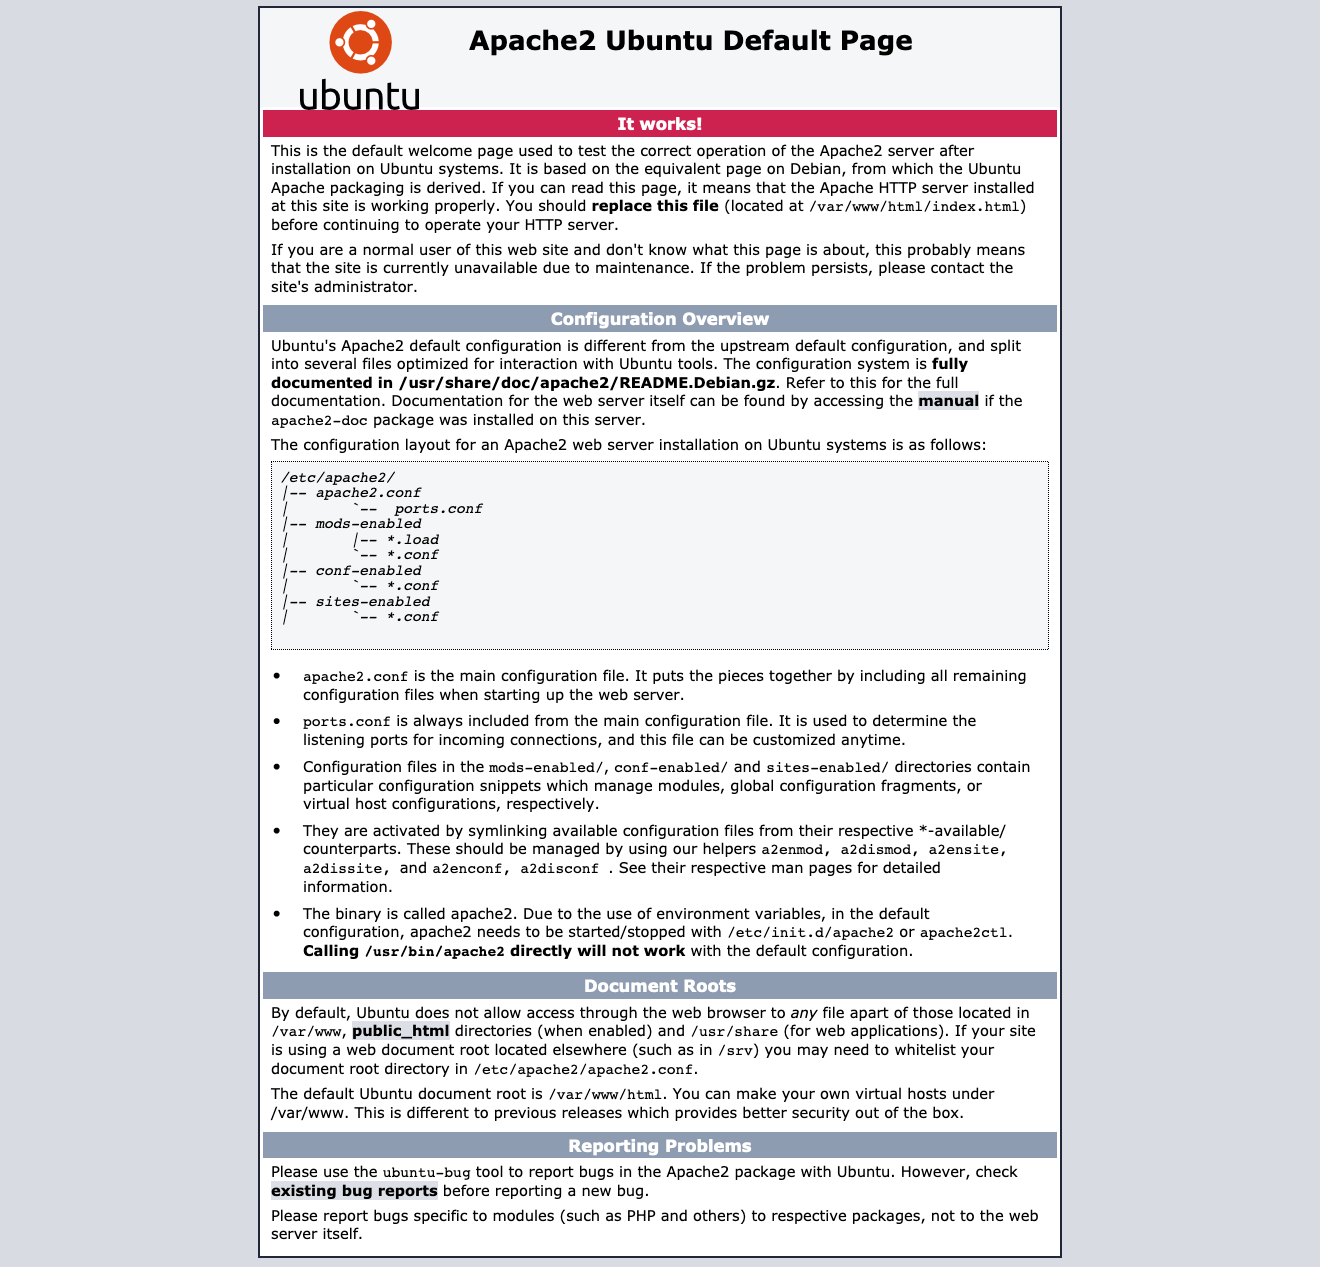
  6. Locate your public IP and http://_that_address_ in a web browser. You should see the "It works!" page as shown in the image to the right. If not, find and fix the problem.

Second activity: make the webpage

  1. Accept the git classroom assignment and clone the directory into your EC2 instance.
  2. Create a non-default root directory for the webserver,
    cd /var/www/
    sudo mkdir ubuntu
    sudo chown ubuntu ubuntu
    
  3. Copy the index.html found in the github repo to /var/www/ubuntu/.
  4. Edit the Apache2 configuration file,
    Edit the file /etc/apache2/sites-available/000-default.conf
       Replace: DocumentRoot /var/www/html
       With: DocumentRoot /var/www/ubuntu
    
  5. Reload the configuration of the apache2 server:
    sudo systemctl reload apache2
    
  6. Check the status of the apache2 server:
    sudo systemctl status apache2
    
  7. Refresh the browser and see the new index.html.
  8. Modify the web page to put your name and the date and check (no reload needed).
  9. Find the macro IPADDR in the Makefile, and replace what follows the equal sign with the public IP address that you used in the browser.
  10. Run make to create the evidence.out file

Third activity: git push the evidence

  1. In github, find,
    Setting (the gear) → Developer Settings → Personal access tokens → Tokens (classic).
  2. Generate a new classic token and copy it somewhere safe.
  3. Configure github on your EC2 instance,
    git config --global user.email __YourEmail__
    git config --global user.name __YourUserName__
    git config --global credential.helper store
    git config --list
    
  4. git add the evidence.out file, commit it and push it.
  5. You will need the classic token during the push. The credential store will copy it to ~/.git-credentials as the store.
  6. Stop the EC2 instance.

Fourth activity: be curious

  1. Use "what's my IP address" to get your IP address.
  2. Look in the access logs /var/log/apache2/access.log.
  3. Is your address there? What information does it say about your computer?

But websites have names?

The IP address is what networking cares about, but most websites also have names. There is a Internet wide system called DNS (Domain Name Service) and answers queries for the IP address, given a name. It is a form of a database. For your website to have a name, you need to insert an entry into this database.

This is done in several steps. First you must own the name. That is done working trough a Registrar to put the database entry into a Registry. The organization ICANN (Internet Corporation for Assigned Names and Numbers) set things up this way to encourage market competition.

Once you own the name, you must find a server for the domain of you name, and have your name and IP address entered into their database. Now that server will respond to queries about the name, and return as the answer to the query the IP address.

According to class interest, we can walk through this process. But we will study DNS as a technology.

Creative Commons License
This work is licensed under a Creative Commons Attribution-ShareAlike 3.0 Unported License.

author: burton rosenberg
created: 2 feb 2021
update: 22 jan 2024